Monday, 22 November 2010

In Flight Scene

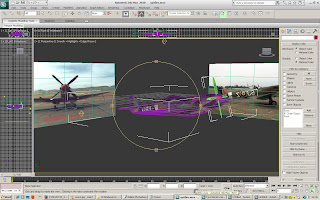
To create a flight scene to follow the takeoff one, I opted to go simple.
For the sky and background, I created a Sphere.
I made sure that the sphere was large enough to house my spitfire, and a substantial amount of space around it.
I then applied a skyline texture to this, the same skyline texture I used for the take off scene, except this time without the silhouettes of trees and buildings.
I orientated this correctly, so that the blue of the sky is at the top the scene.

For the scene to be animated, I inserted a camera. I wanted the camera to float around the plane as its flying, showing all the detail of the plane. And so I made the camera pan around the plane, moving up and down aswell, to get a full view of the plane.

Here are some images of my build up and the end result.


Saturday, 20 November 2010

Airfield Scene

As Glenn was creating the Car seen for NorthWeald, I created the Plane one.

I started up a fresh MAX file and imported my spitfire into the scene.
I then set about creating the floor first.
I created one plane that would act as the airstrip itself, and another larger plane that would act as the surround grass.

I then created a Sphere for the surrounding background. The reason for choosing a sphere is so that there is no corners when it comes to renders, and no chance of gaps in the scene, which would look very unprofessional.

I managed to use the same grass material for the grass in this scene as i did for the Hadleigh scene. However, i did change the brightness and hue slightly in photoshop so that it did not look the same, and tied in better with the evening theme of the Airstrip scene.

For the airstrip, I used a default Asphalt material found in the MAX maps, however I changed it up slightly in photoshop also, and added a strip down the centre.
Once this was inserted into max, I used the UVW map tool to orientate it correctly, so that it tile down the runway.

I then placed the runway plane extremely close but still slightly above the grass plane.

To add an extra effect, I added small omnis down the entire length of the strip, giving the illusion of runway lights at an airstrip. Northweald may not have these, but I thought that it gives a better impression of an airfield than if they were not there.

Light for the entire scene is again supplied by an Omni floating high above the rest of the scene but still inside the sphere.


Wednesday, 17 November 2010

UVW Unwrapping

To create the most realistic Spitfire possible, I decided to use UVW Unwrapping, much like my head model, to achieve the best maeterial wrap possible.
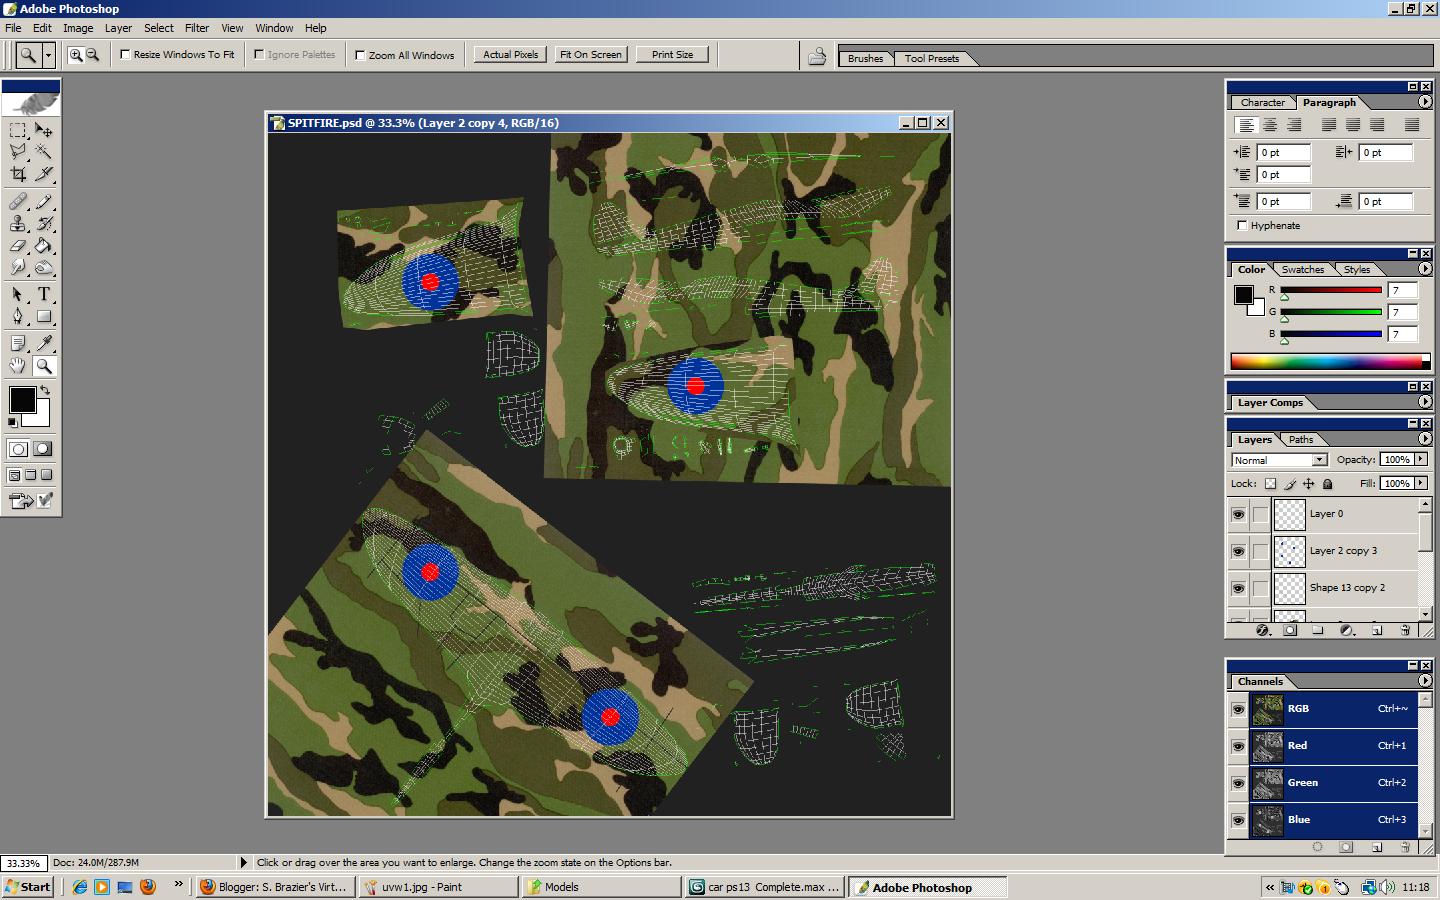
As you can see from the images below, after first unwrapping my model, my mesh was rather a mess. However, I did try and work with this, and create a material for this mesh using photoshop. I completed the material, and brought it back into 3DSMAX. However, it did not come out aswell as I had hoped, and so I went back and changed my mesh.
It took me around 10 hours to stitch the mesh together, and ortietate it correctly, due to the small parts of the mesh that were scattered around the page.
However, once i had completed the mesh, making a material for it came alot easier.
I was now able to use images of actual spitfires as opposed to a camo material I was using previously to create my material.


Friday, 5 November 2010

Spitfire Modelling

I wanted to create my Spitfire as accurately as possible to ensure our animation didn't look gimmicky.
I decided the best way for me to create the spitfire would be to use the same method as I used for my head model.
So the first thing I did was set up some planes with images of spitfires from different views. These would act as my reference planes for my model.
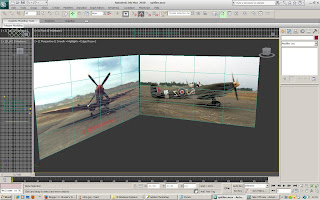

Now I had something to work from.
From here, I used the next method I used with my head model.
I created polygons using the line tool over the top of my side on view of the spitfire. I then converted these into editable polys so that I could manipulate them.

After much modeling and playing with the polygons, I was left with this basic shape.
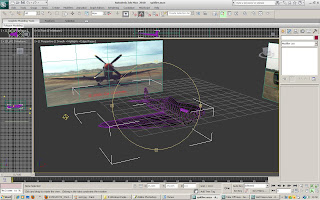

As you can see, I added exhausts onto the side of the plane.
At this stage the plane was rather crude in its shape, and a turbosmooth was added to smooth out any irregularities in the surface.
Now i could use the symmetry tool, just like my head model, and create the other half of the plane.
Once the plane body was in place. I could create the propellers.
I created an individul blade first, and then cloned this 3 times, so that I had 4 exact clones.
I then placed these at 90 degrees from each other.

I wanted the propellers to spin just like the real thing, so I used the Set key feature, and created a key frame at 0, then rotated the propellers 360 degrees and created another key frame at 5.
however when I tried this, it did not work, and the propellers spun off centre and unnaturally. I realised that the pivot point of the propellers was way off.
In order for them to work properly, i would have to group them around a tiny reference object, that would act as the pivot point.
Once i had set the pivot point as this tiny object in the middle of the propellers, i could go back and add key frame to get them to spin.
I tested this and then spun fine, but obviously stopped and started.
For all my scenes with the Spitfire, the propellers will be moving constantly, so i used the Out Of Range Types tool in the Curves editor to get my propellers to constantly spin. This tool loops the key frames I had already placed in the scenes, and loops them infinitely.
Tuesday, 2 November 2010

Tyre Barrier

To go with the Northweald Motorsport scene, I created a Tyre Barrier that will be placed at the side of the track.
As most people will know, tyres are used as barriers in most racing car events, as they provide protection for the car and the driver as opposed to a concrete barrier.

To create the individul tyre, I used the same method as I did for Hadleigh Castle. I create a Cylinder, and deleted the middle polygons. Instead of stitching it together, i left the inside open, as the inside would not be seen.

I then applied a tyre material to the outside. I found 3 different tyre materials in the default images on MAX.
I cloned the original tyre a number of times until I had a substantial tyre wall. I then applied each material randomly to different tyres. To make sure the material fit properly to each tyre, i used a UVW Map.


Monday, 1 November 2010

Northweald Airfield

As a group, we are very interested in transportation, especially cars.
A chance to include our personal interests came in the form of Northweald.
Northweald is host to many different airshows, and car shows, year round.
Lots of different track effects take place at the airfield, from racing, to drifting.

We have decided to recreate this prominant place in Essex in a couple of scenes.
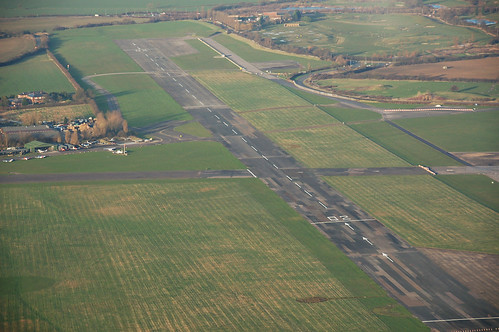
We will recreate the corner shown below for a car scene, and the airstrip for a plane scene.

Monday, 25 October 2010

Creating the Scene for Hadleigh

I wanted the scene for Hadleigh to be looking up at the tower, from lower down the hill on which it is set. This would allow the viewer to look up at the sky and the sun, as well as the hill and the tower.
I started by creating the hill for my scene.
I used a sphere as the base, and removed allt he polygons from the rear side, as I would not be using these, and by having left there, it would take longer to render when the scene is finished, so I decided to discard of these early on.
I then shaped the hill around the tower. I placed the tower with the base slightly implanted into the hill, so that it looks built onto the hill, as opposed to placed on the hill.

I did add a hair and fur modifier to the hill at first, however, after a test render, it took far too long too render just one frame, so I decided not to include it.
Instead, I found a realistic grass image, and used this in the material editor, and made it look as realistic as possible, also using the UVW map to get it in the correct position.

For the sky, I added a flat plane at the back of the scene and added a sky image. I then turned the self illumination up to 100% so that no shadows would be cast on it.

For lighting, I used an ultra bright Omni, that sits behind the castle, high in the sky, but still viewable. I added a glow to the Omni, so that it is viewable, and colour it a light yellow colour, with a slightly darker yellow hue to the outer glow ring.

Now my scene was complete, and all that was left to do was animate it.
I used a camera low down on the scene, looking up at the castle and the sky and sun. I made the sky move to one side as the clip progressed, to give the impression that the clouds were moving.