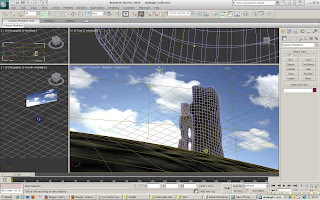
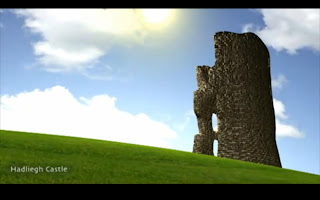
I started by creating the hill for my scene.
I used a sphere as the base, and removed allt he polygons from the rear side, as I would not be using these, and by having left there, it would take longer to render when the scene is finished, so I decided to discard of these early on.
I then shaped the hill around the tower. I placed the tower with the base slightly implanted into the hill, so that it looks built onto the hill, as opposed to placed on the hill.
I did add a hair and fur modifier to the hill at first, however, after a test render, it took far too long too render just one frame, so I decided not to include it.
Instead, I found a realistic grass image, and used this in the material editor, and made it look as realistic as possible, also using the UVW map to get it in the correct position.
For the sky, I added a flat plane at the back of the scene and added a sky image. I then turned the self illumination up to 100% so that no shadows would be cast on it.
For lighting, I used an ultra bright Omni, that sits behind the castle, high in the sky, but still viewable. I added a glow to the Omni, so that it is viewable, and colour it a light yellow colour, with a slightly darker yellow hue to the outer glow ring.
Now my scene was complete, and all that was left to do was animate it.
I used a camera low down on the scene, looking up at the castle and the sky and sun. I made the sky move to one side as the clip progressed, to give the impression that the clouds were moving.


No comments:
Post a Comment